

Related Links
🚀 Connecting Your AI Agent to the Server
This server demo runs live on Cloudflare via the Model Context Protocol (MCP). You can connect it directly to your AI agent by following these instructions. Select your preferred connection method:
| Claude: |  Desktop App Desktop App |
Mobile App |
Website |
iPad App |
| ChatGPT: | Desktop App |
Mobile App |
Website |
Claude Desktop
| Using Connector (easier) |
Using Developer Mode (advanced) |
Using Connector
⚠️ Free Tier Note: Claude allows free users to connect one custom connector at a time. If you already have one active, you will need to temporarily disconnect it to try this demo. Alternatively, you can use the Developer Mode which allows multiple server connections.
-
Open Claude Desktop.
-
Click the Connectors icon (the
+or plug symbol) inside the chat box, OR go to the menu and select Settings > Connectors > Add button on upper right. (Note: If this option is not available, you are on a free plan and already have an existing custom connector. Either remove it first or use the Developer Mode). -
Click Add Custom Connector.
-
Paste the following Name field:
SR66 MCP Server Demo -
Paste the following URL into the Remote MCP Server URL address field:
https://sr66-mcp-server-demo-production.skyroute66.workers.dev/mcp -
Click Add.
-
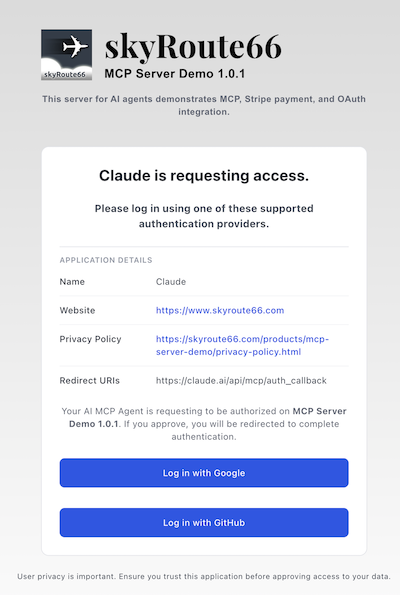
Select an authentication method and follow the prompts to log in.
Using Developer Mode
- Open Claude Desktop.
- Go to the menu and select Settings > Developer.
- Click the Edit Config button.
- The file
claude_desktop_config.jsonwill appear in the file manager of your operating system. - Right-click and open with a text editor of your choice.
- Find
"mcpServers": {...}. - Add this inside the curly brackets:
    "SR66 MCP Server Demo": {
        "command": "npx",
        "args": [
        "mcp-remote",
        "https://sr66-mcp-server-demo-production.skyroute66.workers.dev/mcp",
        "--transport",
        "http-first",
        "--allow-http"
        ]
    }
-
Important Save, quit, and restart Claude Desktop
-
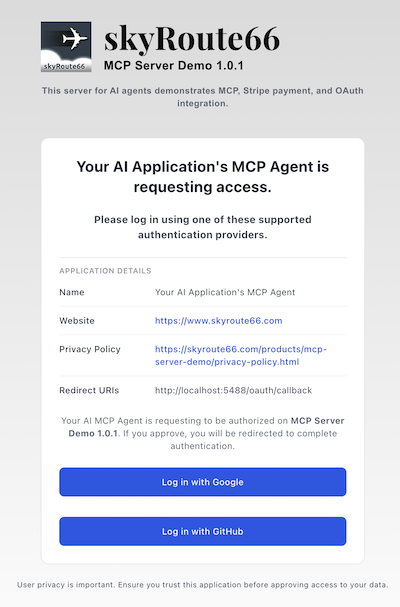
Select an authentication method and follow the prompts to log in. ⚠️ Note: This step must be completed within one minute. If you encounter a disconnect, quit and restart Claude Desktop.
Claude Mobile App
⚠️ Except for the iPad app, you must install using the Claude Website instructions first.
For the iPad App, go to Claude iPad App.
Claude Website
⚠️ Free Tier Note: Claude allows free users to connect one custom connector at a time. If you already have one active, you will need to temporarily disconnect it to try this demo.
-
Go to
Claude Website and log in. -
Expand the left panel if not already shown and select Customize from the left panel OR click the Connectors icon (the
+or plug symbol) inside the chat box. -
Click Add Custom Connector.
-
Paste the following Name field:
SR66 MCP Server Demo -
Paste the following URL into the Remote MCP Server URL address field:
https://sr66-mcp-server-demo-production.skyroute66.workers.dev/mcp -
Click Add.
-
Select an authentication method and follow the prompts to log in.
Claude iPad App
⚠️ These instructions only apply to the mobile app on iPadOS. For Android and iOS (mobile phones), you must install on Claude Website
⚠️ Free Tier Note: Claude allows free users to connect one custom connector at a time. If you already have one active, you will need to temporarily disconnect it to try this demo.
-
Open Claude Mobile App and log in.
-
Tap your profile icon on the lower-left corner and scroll down to Connectors from the left panel OR click the Connectors icon (the
+or plug symbol) inside the chat box. -
Click Add Custom Connector.
-
Paste the following Name field:
SR66 MCP Server Demo -
Paste the following URL into the Remote MCP Server URL address field:
https://sr66-mcp-server-demo-production.skyroute66.workers.dev/mcp -
Click Add.
-
Select an authentication method and follow the prompts to log in.
ChatGPT Desktop
Install at the website first. Follow the ChatGPT Website instructions below.
ChatGPT Mobile App
Install at the website first. Follow the ChatGPT Website instructions below.
ChatGPT Website
⚠️ Note: ChatGPT only allows external MCP server connections for PAID account tier Plus or above. Please see ChatGPT Account Tiers. Alternatively, you may test drive this server with Claude, which allows MCP connection even at the free tier.
-
Go to the
ChatGPT Web Version and log in. -
Click your Profile icon > Settings.
-
Go to Apps (or Security and login > Connectors). Click on Advanced security. Scroll down to and toggle on Developer mode.
-
-OR- Go to Plugins > Developer mode. Toggle on Developer mode.
-
Return to the Plugins tab. Click Browse Plugins. Click on the + sign on the upper right corner.
-
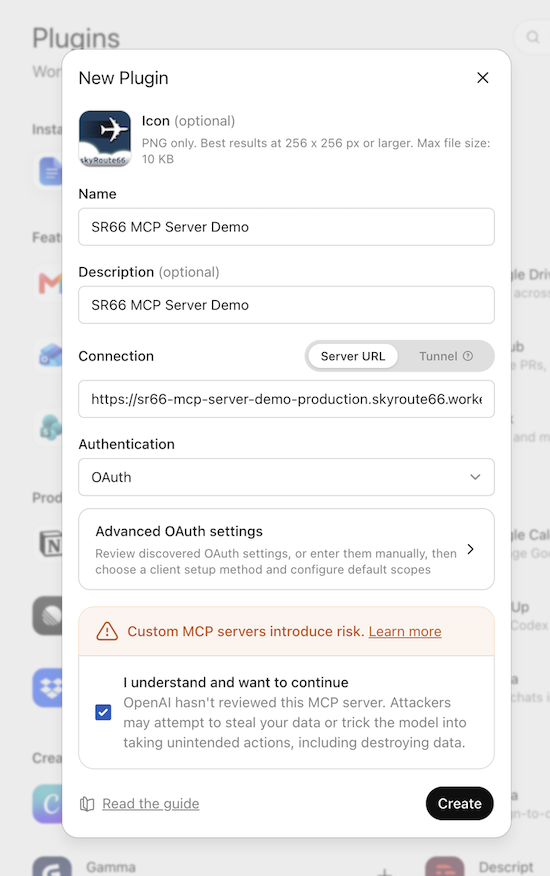
A New Plugin dialog box will appear. Fill it in as follows:
-
Optionally, you may download this logo and add it to the dialog box:

-
For the name and description fields:
SR66 MCP Server Demo -
Paste the following URL into the Connection field:
https://sr66-mcp-server-demo-production.skyroute66.workers.dev/mcp -
Make sure the Authentication dropdown list says OAuth.
-
Check I understand and want to continue and click the Create button.
-
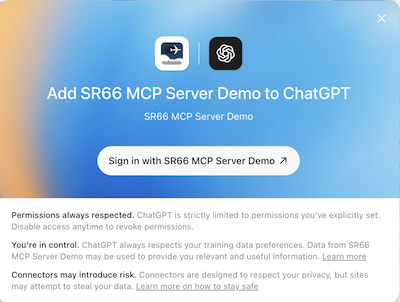
A dialog box will appear. Click the Sign In ... button.
-
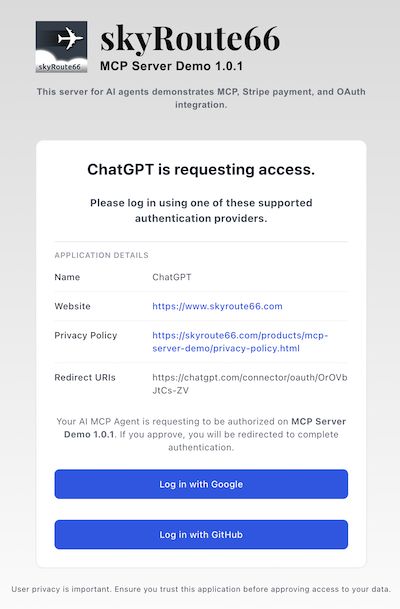
Select an authentication method and follow the prompts to log in.
-
IMPORTANT! If ChatGPT says the SR66 tools are unavailable even though the app is connected, start a new chat and try the request again. This is a known ChatGPT issue and is NOT controlled by SR66 MCP Server Demo.